Wednesday, April 2, 2014

2009 KLX 250s Supermoto Conversion

So you want to go from this -


To this ??


Well, you'll need a few things.  The easiest method for converting a 09+ KLX250S to supermoto status is to acquire a set of KLX250SF wheels.  You can find them on ebay (as i did) or buy them new from a factory Kawasaki parts dealer (~$1200 when i checked in 2012) or get lucky and find a deal on a forum or craigslist.

The nice thing about the SF rims is that the hubs are the same as the S wheels so actually mounting the wheels up will be a straight swap with the factory axles and spacers.

Now assuming your wheels came complete with rotors and sprockets (and that they are usable) the only requirement to fit the SF wheel will be the larger front caliper mounting bracket that will need to be installed to allow clearance for the larger SF rotor.  I covered this in my SF front brake conversion post here.  This can be purchased via the same channels you can get the wheels from.  The rear wheel needs no extra attention and will fit right.

If you just got the wheels you will need to swap out your old S rotors to your new wheels, this is what i had originally done on my bike and saves the need to swap out the front caliper bracket since you are reusing your existing rotor.  I found this setup to be entirely satisfactory and would not have bothered "upgrading" the front except for the fact that a smoking deal fell into my lap for an SF bracket and rotor.

Now that the fitment issues regarding the brake have been taken care of, the next issue is the gearing.  The S model with its larger 18" rear wheel and 42 tooth rear sprocket will experience a significant decline in final drive ratio with the smaller 17" rear wheel.  The best method to rectify this is to get a 39 tooth SF rear sprocket, though you can achieve nearly the same end gear ratio with a larger 15 tooth front sprocket.  (Note that the 15T is the largest front you can run with the stock case saver in place).

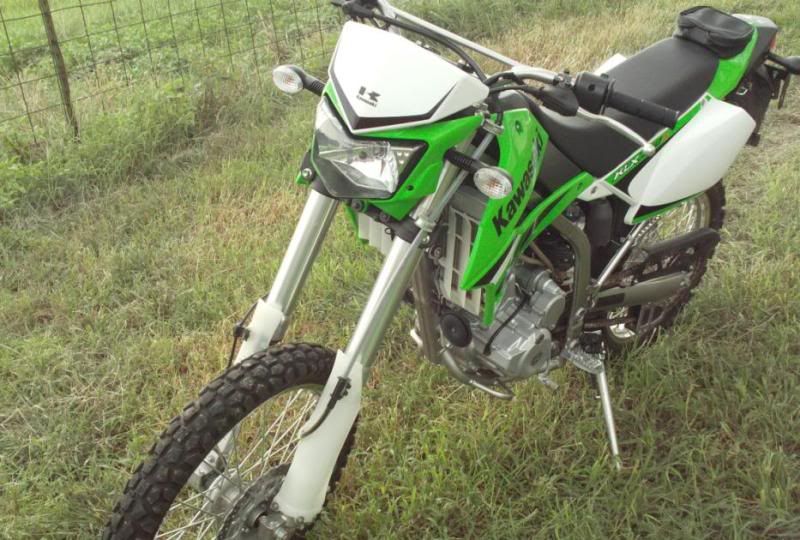
Hopefully now you've got your gearing sorted and the bike will have a top speed of more that 60 :)

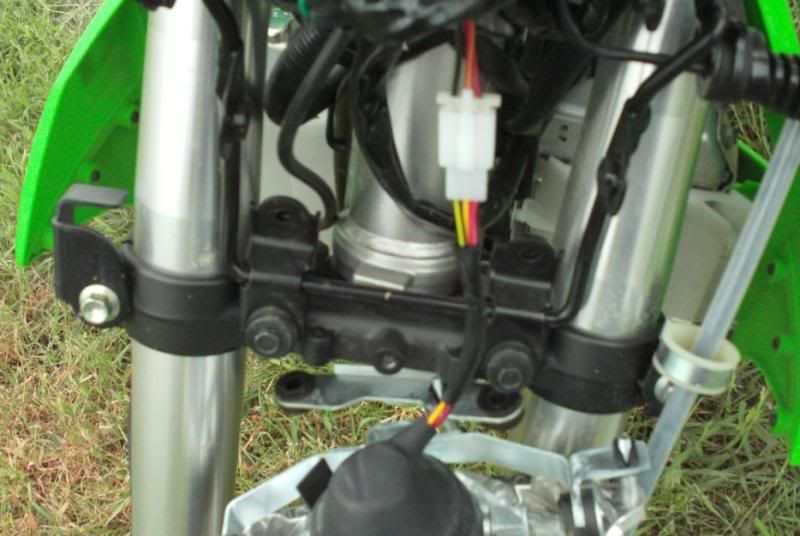
Next we have to tackle the unfortunate reality that since we've now gone from a 21" front wheel to a 17" wheel the speedometer is now WAY off since the instrument cluster calculates speed based on revolutions of the front wheel. ( new smaller wheel will rotate more times going the same speed).  In my case the bike was reading ~90 while the GPS i had taped to the mirror was telling me i was going 60.

The solution i used was the 12 o'clock labs SpeedoDRD  -http://shop.12oclocklabs.com/index.php?route=product/product&product_id=59

You'll want the Y1 model for the 09+ KLX250.  $79.99 as of time of this article. ( I have no affiliation with 12 o'clock labs BTW).

The other option for the factory dash are the Speedo Healer that you can get from Blue Monkey Motorsports which I believe are $116.  I'm not sure what model you need as i went with the speedoDRD.

If you want to go fully custom, there are various aftermarket instrument clusters available with the Trailtech Vapor being one of the most popular for the KLX - http://www.trailtech.net/digital-gauges/vapor This solution however will require custom wiring for most all of the dash functions.

And that should be all you need to get your Tard 'on with your KLX.   If you want to swap back and forth between dirt wheels and sumo wheels i would recommend having two sets of rotors (one for each wheel) as well as standardizing the front rotor size so you don't have to mess with switching the caliper bracket each time, which is probably the hardest part of the wheel swap.

Happy motoring !

Sunday, March 30, 2014

KLX 250 Rectifier ground mod - possible fix for ~6500 RPM stumble

This is an archive of the relevant information regarding the rectifier grounding mod that was discussed over at the Kawasaki forums pertaining to a fix for the stumble or miss that affected some KLX 250's at around 6500 RPM cruising speed.

Special thanks to Maine250SF for reporting his experiences with Kawasaki warranty work which is where most of the information on how the mod is to be performed and to David R for confirming an actual electrical anomaly with his diagnostic equipment.  The original thread can be viewed in its entirety here - http://www.kawasakiforums.com/forum/klx-250s-71/surge-6500-rpm-highway-speed-34470/


Basically the mod entails either cutting and re-grounding the black/yellow wire pictured here that runs from the regulator/rectifier to the existing factory ground, or splicing into this wire and adding an additional grounding path.   Most use the starter motor ground located just to the front of the rectifier plug as seen in the pictures of my modded ground below David's quoted post from the forum.


David R - post # 65 from http://www.kawasakiforums.com/forum/klx-250s-71/surge-6500-rpm-highway-speed-34470/

#################################################################################

This is the plug.

BLACK WIRE WITH YELLOW TRACER


I made my ground "T" in with the ground already there.  Its a ground in parallel.  Crimp on terminal on the other end of the wire and bolted to the engine using the existing bolt going to the same spot as another ground already on the motor just in front of the reg/rec.

I want this clear.  I soldered a wire to the back part of the terminal you see in the picture and inserted the terminal back into the plug.  Plugged it back in.  Motorcycle wiring was not changed, cut or removed only extra ground added.
This is what I was getting occasionally


This is more like what it should be


I ran the bike for a few minutes after doing the repair and saw only normal spark traces.  I am going to check the grounds to the CD box and coil.

40 miles, and I THINK its fixed.   This inculded an attempt to do 80 on an expressway.   Pavement is grooved and enough traffic that the bike was not too stable so I backed off to 70-75 mph.  It seems to run great.

David

################################################################################


Here is a picture of the finished mod on my bike.   Remember to make sure if you are cutting the wire to ground the plug end of the wire that is attached to the white box that plugs into the rectifier and not the end that runs into the wiring harness with the other wires to the original ground.  Grounding the wrong end will result in your battery not being charged and eventually the drained battery will cause the bike to die on you.


Wednesday, March 26, 2014

Converting S front brake to SF

Well, luck would have it that i came across a great deal from a forum member over at the supermoto junkie forums who had a complete front brake setup for CHEAP.  So i snatched it up just to complete that last little detail on my converted S model.  Below is a quick overview and photo follow along of the install -

First get your bike up on a stable platform to remove the front tire.  I have a couple of moto stands from harbor freight that work pretty good.


Next, move around to the front of the bike and loosen the 10mm fork clamps for the axle, and then loosen the axle nut with 17mm and 19mm sockets or wrenches.


Slide the axle out from the left side of the bike and slide the wheel out taking care to not lose the spacer on the right side (rotor side) of the wheel and sliding the rotor from between the brake pads on the front caliper.

Set the wheel spacer, axle and axle nut aside and set your wheel down on a flat surface to work on removing the rotor bolts.  I like to use a large broken down cardboard box to prevent scratching of the wheel.  Remove the rotor bolts with a 6mm allen wrench. To break the bolts loose I used a 3/8 drive ratchet and allen socket since they were so tight.


Once the bolts are removed you should be able to lift the rotor off the wheel.  The rotor cushion foam piece will probably stick to the rotor and come with it.  I re-used mine, i believe its intended function is to reduce brake noise.  Put the new rotor on and line up the bolt holes, then replace and tighten the rotor bolts.

You can see the size difference between the S and SF rotors.  Will this translate into better braking ? Only one way to find out.


Now we move on to the caliper bracket that will move the brake caliper farther away from the wheel to allow clearance for the larger rotor.


To install this, we first need to remove the bolt that holds the brake line bracket so we can get that out of the way to give us some more workroom.  Its a 10mm IIRC.


With that out of the way, loosen the caliper retention bolt on the inside of caliper.  This will allow us to remove the caliper from the bracket later and is very tight, so i recommend doing this first while everything else is still bolted to the bike.  You don't need to remove it all the way, just break it loose.


Next, remove the caliper bracket mounting bolts, these are 6mm allen, same size as the rotor bolts.  I recommend 3/8 drive ratchet and allen socket for this as well.


With those two bolts removed the caliper and bracket should dismount from the fork.  Now you can remove the caliper retaining bolt from the back of the caliper and slide the caliper from the bracket.  I had to use a bit of propane torch and a punch to tap the retaining bolt from the bracket due to a little bit of corrosion.  I don't have detailed pictures of this step but its easy enough to figure out, but may take a little wiggling and finagling to convince the caliper to slide from the bracket.

there is a small post bolted to the bracket that slides into a rubber boot on the caliper (middle of the bracket in the pic below), this stays on the bracket where as the other rubber booted bolt stays on the caliper (the D shaped hole on the upper left of the pic below).


Now install the caliper to the new bracket taking care to ensure the retaining bolt is orientated properly into the D shaped hole and that the caliper post on the bracket is installed correctly into the rubber boot of the caliper.  this again may take some jiggling and finagling.  Once that is done you can re-install the caliper retaining nut and put the bracket and caliper back onto the fork.

Re-tighten the two 6mm bracket bolts to the fork and then re-torque the caliper retaining nut. Replace and tighten the brake line holder bracket and you are done with the caliper.

Slide the wheel back into place taking care to ensure the spacer is reinstalled correctly on the rotor side of the wheel.and the speedo drive is reinstalled correctly on the other side.  Slide the axle back into place and retighten the axle nut to 65 ft-lbs.

Now stand back and admire you new fully supermotoed KLX250S.


Now, i really don't think i've noticed any improved braking performance from the larger rotor, and to be perfectly honest if I hadn't gotten a good price for everything i wouldn't have bothered.  Now, if you are taking your bike to the track and running it hard, it might be a different story.  BUT for my use so far on the street, i can't tell a difference.

Thanks.

KLX250S Headlight Removal and Installation

From what i've been able to gather from my somewhat limited searching of the web on the subject of changing the headlight out on the '09 and up KLX250s, there is a distinct lack of information. Its not the at task is really difficult or anything, but exactly how to go about it was a bit confusing for me.

I ended up referencing the factory service manual to find out what exactly need to be moved, removed and beaten with a hammer to get the job done. So without further delay, here we go:


First you need your bike -


Next you need to detach the front fenter by removing these four (4) 8mm bolts -


Now step back and look at how weird the bike looks without the front fender -


Next remove the headlight fairing ring. I forgot to take pictures of this but its three (3) 8mm bolts, one in the center on the bottom and two (2) on the upper on each side.

Now remove the two (2) 12mm bolts on the upper bezel retainer -


And then the two (2) 10mm bolts on the bottom -


Pull out the bezel and detach the bulb wiring from the harness via this clip -


Pull back the rubber weather seal and remove the bulb socket. Push down on the wire bulb retainer and swing it to the side and remove the bulb -


Put your new bulb in, replace the retainer and wiring socket along with the rubber weather seal. Plug the wiring harness back in, and bolt the bulb bezel in place. Replace the headlight fairing, and reinstall front fender.  Enjoy.

KLX250S Custom Stock Exhaust Mods

Finally got around to finishing up my stock exhaust mods.
I used a exhaust tip from a KX400 ATV and hacked it down to fit, blowtorched the straw out of the stock exhaust and with alot of paitence and a keen eye for detail, I prevailed ;)

Heres the hole that i cut with the torch and then dremeled out to give a snug fit to the tip.


Heres the tip cut down, forgot to take pics of the before, but it was quite a bit larger in diameter.


And heres the 90% finished product (gotta rivet it on).


I think it sounds really good, not much louder than stock but with a nice mellow throaty thumper sound when you get on it. I'll try to get a video so you can hear the sound when its not so windy outside. Personally i think it came out pretty good for a hack job using only a blowtorch, angle grinder and a bench grinder :D